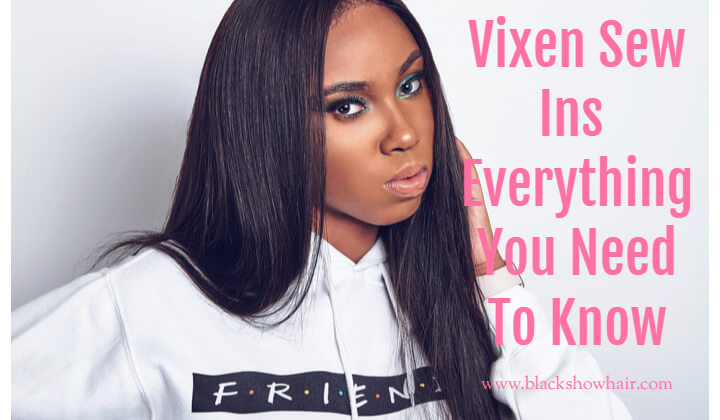
All About Vixen Sew Ins - Everything You Need To Know
Okay, so do you remember when the vixen sew-ins made a massive wave in the hairstyling industry a few years back? Like many videos on Facebook, it got re-shared until it became an overnight hit! So many people became intrigued by the technique that it had to be learned.
However, today there isn’t much talk about the vixen sew-in, but it still has a steady place among Black hairstylists. This method gives options every woman craves in a sew-in. You have so many options.
So, What Exactly Is A Vixen Sew In?
A Vixen Sew in is an excellent four parted method that became popular some years ago.
This Sew in method of installing sew-in extensions allows so many more styling options. What differentiates this method from a standard weave install is the braid pattern used. Instead of braiding all of your hair all back or into one beehive, while some hair around each quadrant is left out, allowing you to create parts in between each quadrant. For this method sew in to look natural everything has to be on point!
Pros
Styling Versatility
A vixen sew-in provides fantastic styling versatility. Whether you’re looking to wear your hair up in a ponytail or bun, down in pigtail braids, or merely all down, anything is possible.
Provides A Seamless Look
Since this technique blends your natural hair with the weave, the finished look is remarkably seamless that it looks even more realistic than traditional sew-ins.
Easy Maintenance
Maintaining a weave can be a huge hassle, but it so easy with a vixen sew-in. Since the hair is separated into quadrants, all you have to do is pull the hair into Bantu knots, buns, or a neat braid at night also, since there is a significant portion of natural hair left around the perimeter and across the middle sections of your scalp, it more comfortable to wash and keep moisturized.
Cons
Heat Exposure
There is a lot of leave out with the vixen sew in. If that leave-out needs to be smoothed down with a flat iron constantly there will be a great chance of heat damage to your natural hair. You will need to apply for some protection. Additionally, we highly recommend deep conditioning the leave-out to keep the hair hydrated and moisturized at least once per week.
Unevenly Healthy Hair
With the majority of your natural hair braided down and protected, and some of your hair left out and exposed, the health of your hair may be become uneven, depending on the amount of heat you apply.
Hair Prep
Sew-In Supplies You Will Need
-
Rattail comb to part the hair.
-
Needle and thread, it can be straight or curved depending on your preference.
-
Hairnet, if desired.
-
The best hair extensions affordable to your
-
Edge control to tame your edges
Before getting started to be sure that the hair is clean. Next, grease the scalp with your preferred hair oil. Hair oil is known to promote hair growth. Now that all the legwork is done, let’s get to work!
Braiding Pattern For Your Vixen Sew In
What really sets a sew in apart is the braiding pattern. There are a few variations all depending on your preference and how much versatility you want with your extensions and what type of hairstyling you want to wear.
For high ponytails, pigtails, or buns the four part vixen braid pattern is ideal.
If you opt for half up, half down styles, the three part vixen braiding pattern is ideal.
A two part vixen braid pattern are for ladies who love french braids.
Step-By-Step Two Section Sew In

-
Part your hair down the middle, make sure it is even.
-
Leave out hair around the perimeter of your head.
-
Braid all of your leave out and section away.
-
Begin your braid down each of you sections, hair nets are a great alternative instead of braiding along the braids to keep it neat.
-
Begin from the right, making sure you’re knotting your thread once you’ve completed the section.
-
Once you’ve made it all the way to the left, do the fold over method to preserve your wefts. Make sure you go up enough, fold over, and sew under and over the weft.
-
Continue doing this for both sections.
Step-By-Step For Three Section Sew-In

-
Part your hair down the middle, make sure it is even.
-
Leave out hair around the perimeter of your head. Also, leave out hair for your middle section and cross sections.
-
Braid all of your leave out and section away.
-
Start braiding down each section, make sure your braids are neat and not to large.
Step-By-Step For Your Sew-In
Let's get ready!

-
Part the hair into four sections.
-
Leave out about 1’ inch of hair around the perimeter of the head.
-
Leave out the middle and vertical cross sections of the hair. This is the hair which will enable you to blend your styles later.
-
Begin braiding down each section; you will need to braid all four sections into a beehive pattern. Be sure the braids are small and neat. Also braid the hair you are leaving out, to keep it out of the way.
-
Once you are finished braiding, place on the wig net.
-
Now, start sewing in the weave!
-
Begin from behind the ear, go down and sew from left to right.
-
Once you reach the top, sew down the very last track across so that you can achieve a flatter look.
-
Be sure that you sew around every section and be sure not to stitch on top of the leave out.
-
Once the sewing is completed, cut off all of the additional nets that is not needed.
-
Cut around the sections, so you end up with four sections covered with a net.
-
Now take the braids out of the leave out sections around the perimeter and in the middle cross sections. Once all the braids are undone, you have to blend it in with your extensions.
Sewing Hair Extensions Down

You will need to begin sewing your hair extensions down from the right top section.
Be sure that you are sewing underneath the braid until you get to.
How to Maintain Your Vixen Sew-In
-
Oil your scalp regularly. It is better if you use liquid coconut oil to ensure your scalp does not get itchy.
-
Wash your hair weekly with high-quality sulfate free shampoo and conditioner to be sure your hair does not get tangled.
-
Do not rub your extensions dry. Slightly pat it dry, rubbing it roughens the hair cuticles and messes with the hair shafts causing split ends.
-
Style your hair carefully, comb it from bottom to top to avoid pulling the hair shafts. Try using heated styling tools sparingly because it may cause your extensions to become dry and brittle. If so, be sure to use heat protectants.
-
It is essential to schedule regular appointments with your hairstylist so they can repair any loose extensions and style them appropriately.
Be a Vixen With Your Sew In Extensions
The benefits of the Vixen-Sew In are literally the bomb. The opportunity to wear so many versatile styles without showing a single track of your hair extensions is a win, win! You can out your hair into a ponytail, or part it in so many ways and even wear it into a crown braid. Before you grab your needle and extensions, just a few reminders; Make sure your hair is clean, and your edges are sleek! Check your leave out, oil your scalp, and make sure the hair extensions are sewn correctly. Until next time, if you have any questions leave a comment below!

