
The Ultimate Guide To A Seamless Lace Closure Sew In

Ever since Lace Closures have touched the scene in the hair market, they have become a staple in the sew-in process. Lace closures are most known for the ability to look natural while creating a seamless look. They are made with human hair individually tied onto a lace base, ultimately being virtually undetectable. Because of the high quality of lace closures are loved by women.
What Is A Lace Closure?

A lace closure is a small patch of lace with vented hair. Typically, alongside sewn-in wefts or tracks to mimic the look of real hair. To install a lace closure, you need to have your hair cornrowed, then covered with a weaving hair net. Once installed, you can sew in your wefts or tracks as usual.
The Pros and Cons Of A Lace Closure
Lace closures are made with a lace foundation with hair strands embedded into the holes.
Pros
-
It gives a scalp like appearance when placed onto your skin or on your scalp.
-
It allows for a flat and smooth application that will make your install look very real.
Cons
-
Because the hair strands of your lace closure will be directly embedded into the sheer lace, tiny black knots where the hair and lace meet are visible when placed against your skin, which means you’ll have to bleach the knots to get rid of the grid-like effect the dots create. So be sure to do some tweaking to the lace closure and make it your own.
-
If not bleached correctly, your risk ruining your closure and hair attached.
-
Alternatively, you may also add concealer or foundation to the lace for an easy route to achieve a natural appearance.
Tips To Making Your Lace Closure Look Real
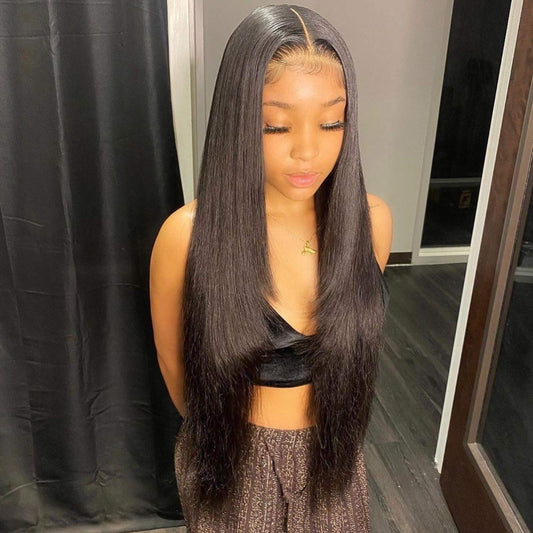
Choose the Correct Lace Closure or Lace Frontal Closure

-
Look for a good quality lace closure that matches the color and texture similar to your real hair.
-
Part the hair in the closure to get a natural look you like, closure parts slightly to the side will look more natural than middle parts.
Choose the Lace Color That Matches Your Skin Tone
-
Choosing lace that matches your skin tone so the lace virtually undetectable like your scalp which makes your lace look realistic.
-
Dip a cotton swab into the dye and apply wherever the lace will be visible, such as the part or even around your hairline.
Trim Off the Excess Lace Off

Trim off the excess lace before wearing the lace closure or lace frontal.
Make Sure All Of Your Hair is Hidden
- Short hair can simply be slicked back under the lace closure, be sure to wear cap also.
Long hair is most manageable if you braid it down into scalp braids. Be sure that the braids are small enough to create a smooth surface.
Any of these methods can be used to achieve a better and realistic lace closure, always remember to wash or co-wash after the process.
Braid Pattern

Your braid pattern is everything! It is the most important to get a seamless look. Part the natural hair exactly where you want the closure to go. The first braids must be very small.
How To Sew In Weave With a Lace Closure
How To Prep Your Needle
The type of needle that you want to have is called a curved needle or a c needle this needle is extremely helpful when doing you sew in because as soon as you feed the needle under the braid, it comes directly back out of your braid because of its shape. Also, you want to make sure that you have your sewing thread that matches close or precisely the color of your extensions. The reason why you want to match your thread to your extensions is to make sure that if at all you're able to see through your hair, which you shouldn't, you're not going to see the light colored thread. Also, you will need hair cutting scissors.
Installing The Cap
-
Start with clean, washed hair
-
You will be wearing the wefts and lace closure in your hair for some time, so make sure your hair and scalp are clean and freshly washed. Be sure to condition and moisturize your hair after. Also, your hair will need to be thoroughly dried before moving on.
-
Regular cornrows products are best, or you can use something natural, such as shea butter and olive oil.
Cornrow your hair
-
Part your hair where you want your final style to be parted.
-
Cornrow your hair using your favorite technique. Keep your braids small, and make sure that you have a braid all along your hairline. The braids need to be small to ensure that your foundation is flat. Having a flat foundation help the overall look of the sew-in closure, making it appear more natural.
-
If you do have long braids at the end of your cornrows, pull them back along your head and pin or sew them in adjacent cornrows.
Sew on netting (Optional)

-
Using a net allows you to sew in the wefts in the netting vs. sewing amongst the braids. This gives you a cleaner look.
Sew Your Closure down

-
Tie and cut the thread, then cut the excess netting off.
-
Begin from the middle and sew around to the middle back of the closure.
-
Make sure your closure is aligned.
-
Now sew from the middle forward.
Sewing in the Wefts

-
Using your curved needle
-
Sew in your first measured track by placing your track in line with the nape of your head.Your track should lay smoothly in line with your braid, and the weft should face toward the back of your head. Go through your braid, underneath your extension, and pull the needle through the weft. Make sure you use your double lock stitch method while you sew in the entire track.
-
Secure your ends with a double lock stitch twice. Trim off any excess weft when you have completed the top of your head. Repeat this method for the invisible part section.
-
Now for the rest of your head, you can sew in your tracks by using the fold-over method to eliminating cutting your wefts.
-
To fill in the area left near your part. Take your track and measure from the end of your invisible part braid and just before the weft along the invisible part.
-
Cut that weft and pull your needle through the weft. Use a double lock stitch the thread and cut any excess thread.
-
Without cutting the double thread stitch on the other end of the weft. Place the track on the braid. Take the needle through the braid and the weft.
-
Create your knot to make sure the weft is secure.
-
Repeat this step once more.
-
For the rest of the weft use a single loop to attach the weft to the braid. At the end of the weft, double lock stitch twice to ensure the weft is secure on both ends. Cut the thread.
-
Continue this process to cover the entire area.
CLOSING
Our Lace Closures are used with an almost invisible light lace that covers the top of and direct front of your hairline.
The purpose of a lace closure is to provide an invisible undetectable hairline.
Lace Closures are predominately used for the woman who wants to close their weave at the front of their hairline without leaving their own hair out.
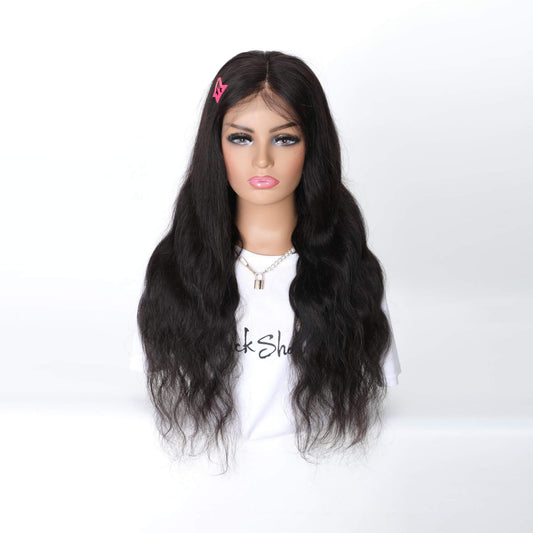
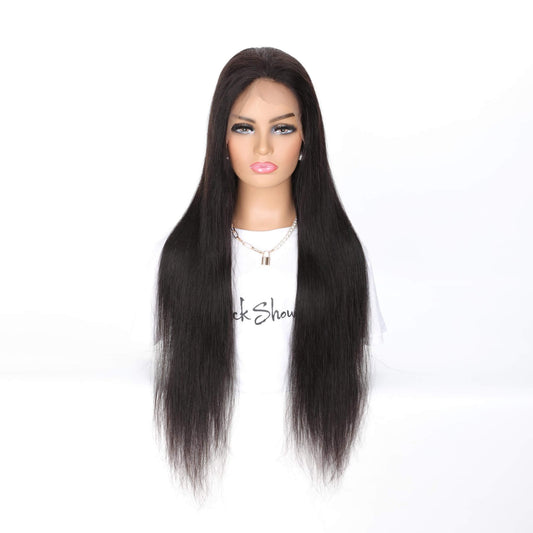
Our Closures are available in straight, wavy and curly.
If you want to do more with your hair a lace closure is a must have! It enables you to be more experimental with your hair, choosing the looks, fashion, and styles you require with no compromise.